Have you ever found a popular product and marketed it, only to end up with no sales?
It’s a gut-wrenching feeling that makes you second guess yourself.
Did my marketing strategy fall flat? Have I chosen the wrong product? Should I have gotten someone to review my store?
There’s a number of factors that can negatively impact your store’s financial success.
Fortunately, one of those factors is easy to fix: change your price.
In case this is your first week joining in, I’m currently on a mission to build a new online store from scratch.
In week one, I picked the perfect dropshipping niche. I’m super excited that I’ll be selling a fun, DIY product: letter boards.
Week two was all about sharing my step by step process for setting up a Shopify store for the first time and picking the right theme for my niche.
During the third week of this series I added products to my store and ordered product samples from my suppliers.
By the time week four rolled around my product samples arrived. And I was pleasantly surprised with how much care suppliers put into packaging their products. My customers are going to love these letter boards!
During week five, a family member died and it completely derailed this whole project. But I still managed to shoot my own product photos for only $25.
Last week, I focused on crafting the perfect product descriptions and about us page copy. I walked you through how to optimize your product page for search while sharing some of my best copywriting tips. You also got a first look at my product page.
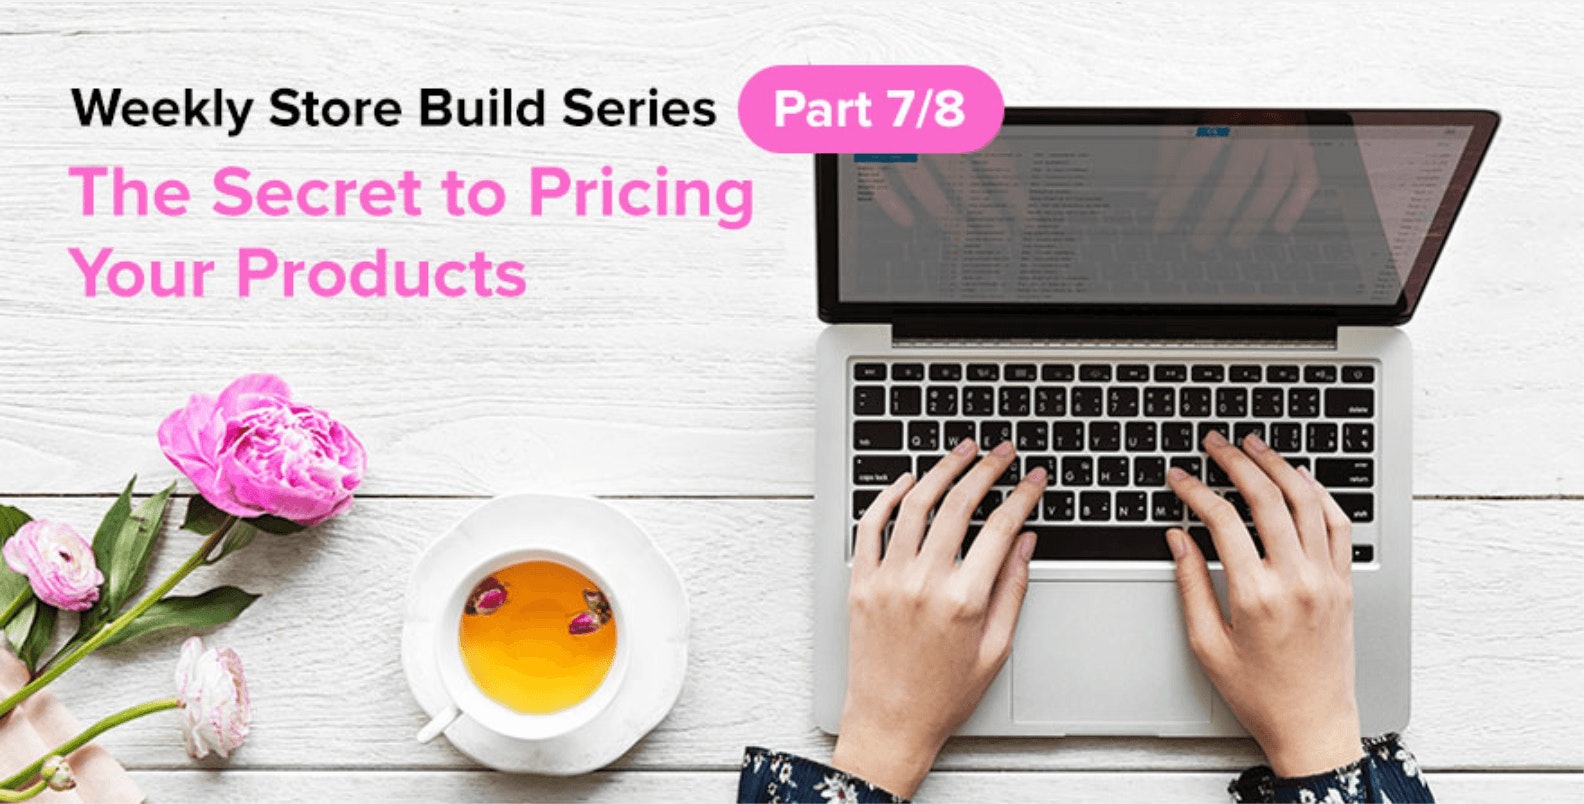
This week is all about finishing touches. I’m going to be doing a deep dive into product pricing because I’ve experienced first hand how important it is for a store’s success. I’ll also be adding returns and shipping pages, and getting my logo up. And when that’s all done, I can finally remove the password from my store.
Post Contents


Failures and Wins
Having run several online stores in the past, I’ve figured out what works and what doesn’t. Before I dive into my strategies on how to properly price your product, I wanted to share some examples of my personal mistakes and wins so you can make better pricing decisions.
A few years ago, I was selling phone cases via print on demand which is known for its expensive shipping rates. Naturally, my abandoned cart rate was through the roof.
→ Click Here to Launch Your Online Business with Shopify
So I decided to add my shipping costs to my total product cost. So instead of selling a product for $19.99 plus shipping, I was selling a product for $35.99 with free shipping.
Did it work?
Nope!
I literally stopped getting sales. Not a single order.
For that specific product, the $19.99 price tag even with paid shipping still enticed more sales than bundling free shipping into the product cost.
The reason why I’m sharing this is because you need to experiment with product pricing. And it’s important to know that even if you mess up, it’s not game over. You can always change the price.
Plus, I’ve also had some major wins.
My first successful dropshipping store sold yoga products. The product cost $10 and I had a 3x markup on it, selling it for $29.99.
I set the original price of the product to $50 so that it would show a 50% discount on the product. Some retailers were selling the product for more $50 so even if I kept it at the original price it’d still be at market value.
The 3x multiple allowed us to have a $10 marketing budget for our products which worked out really well, as it still resulted in a decent profit. Since I was selling below market value but still within a profitable range, I was able to drive high sales growth. And the product sold like hot cakes.
The best thing about having the product priced this way is that I was actually able to drive a higher average order value as well. For example, if I sold at the $50 market value we’d probably mostly sell one or two products since it’s a higher price.
Instead, I was able to bundle the product to sell more of the exact same product. In my first year, of this business, I sold 10,998 products. I consider it to be one of the dropshipping secrets behind my success.
Things to Consider Before Pricing Your Products
Expenses: Before you price your products, you need to know what your business expenses are. You’ll need to layout what all your expenses for the next few months will be. You should also take into account any unexpected costs, so feel free to inflate your total expense number by an extra 10%.
Here are some costs to consider:
-
- Wholesale product cost
- Shipping costs
- Advertising/Marketing costs
- Recurring monthly fees (Shopify, Shopify apps)
- Website fees (store theme, logo design)
- Contractor/Employee salaries/Your salary
- Emergency Fund
Advertising: How heavily does your niche rely on advertising? For example, with my phone case store, I focused on influencer marketing and the influencer fee, on average, was only around $30. But with my yoga store, Facebook ads played a bigger role. With direct advertising, you also need to consider potential losses from failed ads or ads with lower performance. Direct advertising can be highly rewarding but in the early stages can eat away at your budget, before you’ve even made your first sale. While this isn’t a perfect number, I usually estimate about a $2000 advertising loss for the first couple months as I refine my target audience. The exact number you’ll need to take into account will depend on your skillset and niche.
Competitor Pricing: When looking at competitor pricing, don’t look at big box retailers like Amazon, Walmart or AliExpress. Instead, focus on competitors within your niche. Are there online stores that exclusively sell your product? How much do they charge for their product? How popular is their brand? For example, if you see a competitor selling their product at a certain price but they only have 1,000 it can be hard to know whether or not people are buying the product at their price. You want to make sure that there’s some level of popularity in the competitors you’re analyzing.
Discount Marketing: When pricing your products you should take into account what percentage discounts you want to offer. On my most successful store, I previously mentioned we had a 50% discount that was still aligned with market value. Offering too many discounts can hurt a brand long-term. However, when you’re starting out and trying to get proof of concept, discounts can help you get your first few sales.
Profit Margins: How much money do you plan to make? If you’re dropshipping products there’s no benefit to breaking even. You need to make make a profit. Some niches like electronics are known for having smaller profit margins whereas niches like fashion tend to have higher profit margins. So you do need to consider industry standards for the products you’re selling. However, there’s room for flexibility, especially if you choose to position yourself as a luxury brand.
Product Pricing Formulas
When I price products on my store, I look at various factors: business costs like advertising, product costs, profit margins, and market value. These pricing formulas won’t necessarily work for every situation so feel free to play around with the numbers a little bit.
Between $0.01-$4.99 product price = $19.99 retail
Between $5.00-$9.99 product price = $29.99 retail
Beyond $9.99, I usually do a 2.5-3x markup.
If your product costs $19.99 (product cost and ePacket shipping cost combined) then you retail it for $59.97 and round up to cents to .99.
Then, you’ll have $19.99 to pay for your product costs, $19.99 to be used towards your expenses which include advertising and $19.99 profit.
Keep in mind that most entrepreneurs reinvest the $19.99 back into the business so it isn’t money you put into your pockets.
The 3x markup isn’t firm but allows for flexibility. In the past, most of my prices usually end in 9s. For example, $19.99, $29.99, $39.99. This is a psychological trick many marketers use. If it’s still within market value you can boost up your pricing or reduce your pricing to round up or down to the nearest $x9.99.
While this strategy has worked really well for me, feel free to experiment with different prices based on your niche. For example, in women’s fashion you might have a buy 2 for $25 sale which would perform better than a buy two for $29.99. By browsing competitors in your niche and monitoring how they promote sales, product prices and more, you’ll be better able to make informed pricing decisions.
Getting Paid in USD
After adding the prices to my store, it became apparent that my prices were still set in Canadian dollars. How did I notice? In the backend, I added my prices in $x9.99 but the numbers I added were changed. You can see how my product page shows the price as $38.61 USD. That’s definitely not the price I put there!

Under Settings > Payments > Shopify Payments, it showed that I still need to Complete My Account Setup.

For this store, I plan to sell via the same two payment gateways I always use: Shopify Payments and PayPal. The payment gateways available to you may differ depending on what products you sell and which country you live in. I could add other payment gateways to the mix but I don’t want to overwhelm people with payment options. Shopify Payments and PayPal are both popular enough that I can rely solely on these two channels.
Under Shopify Payments, I first fill in the details like my birthday and product details.
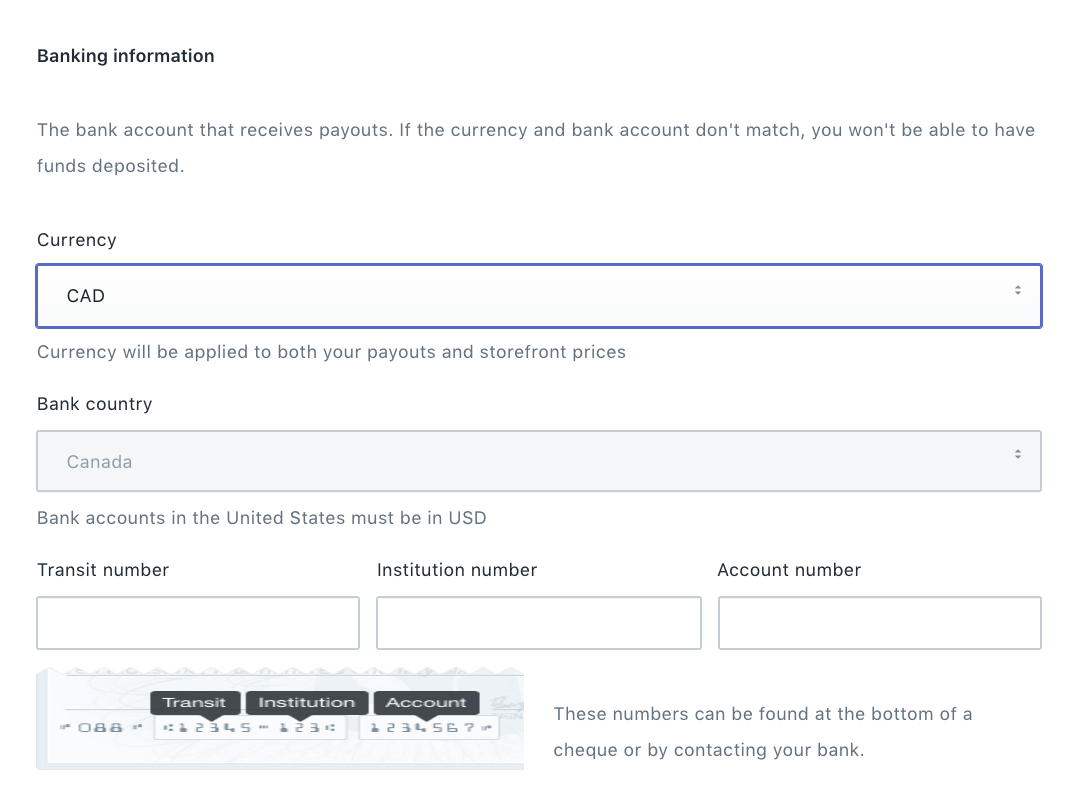
Then, I scroll down to ‘Banking Information’ so I can switch my currency to USD. You’ll need to head to your bank to open up a USD bank account if you don’t already have one but the process to set one up is usually pretty easy. You might even be able to do it online instead of in person. You can find your account details on a direct deposit form for your USD account.

Completing the Finishing Touches
At this point, most of the website is complete. Now it’s time to finish up any last minute tasks before launching the store.
Refund and Privacy Policies
Shopify’s tools section has templates you can copy and paste onto your website so you don’t need to invest in hiring a lawyer to create these policies for you. I literally copied and pasted both of the policies directly to my website, only adding in my business name and address. Alternatively, you can automatically generate these policies under Settings > Checkout> Refund, Policy, and TOS statements
It’s fairly standard to include these two policies on an online store. The refund policy helps customers know what the process is for getting a refund on your store is. Whereas the privacy policy helps customers know how their data is being used.
Make sure you read through the policies so you know what you’re promising customers and feel free to make modifications to them as needed.
After copying the customized policies, I created pages for them on my website under Sales Channels.

Then, I added those pages to the footer under Navigation.

The whole process took under 5 minutes but it’s one of those things you can’t forget to do.
Shipping Zones
As I’m dropshipping products, I need to change the shipping details. Shopify automatically includes weight based rates but this needs to be changed to a price based rate.
First, click the x’s under weight based rates. This will remove these options from your store.
Then, under Add Price Based Rate, change the title to Free Shipping and click Free Shipping under Rate.

Next, under Countries, you’ll likely find that your country is already listed. But now, you need to also include the rest of the world. At the time of doing this, the Rest of the World button was down so I manually clicked each continents to add all countries. If there are certain countries you don’t want to sell to, you’re free to remove those countries from your options. Some retailers, who don’t dropship, choose countries based on the affordability of shipping costs. But as a dropshipper the shipping costs aren’t too high so I usually sell internationally.

Designing My Logo
Throughout this entire store build, I’ve been trying to keep my costs low. So, when it came time to design a logo, I knew that it was up to me to design it.
I’m obviously not a graphic designer so my logo won’t be anything out of the ordinary. My goal is to achieve a sleek, text based design that is easy to read and matches the feel of my brand.
At first, I considered adding a graphic, like a square shape icon. The idea was that since most of the letter boards I’m selling are square shaped this would work well.
So I went to FlatIcon, to find a vector icon I can use in my design. Then, I typed in square and browsed through the collections. I played around with a few icons. Unfortunately, I wasn’t able to modify any of them too much which limited the look of it.
So I used a bit of Photoshop to add text within the square. For my font, I just stuck with one font that had a bold option so it was the same font family.
Here’s my first design:
![]()
I kinda wanted to rush the logo design process so I immediately added it to the website hoping I was done. I wasn’t. The logo looked awful on my website.
![]()
So I was forced back to the drawing board.
Next, I decided to use the icon as the logo, without the ‘letter boards’ text.
![]()
That looked pretty bad too. I hated how much space it took up. It ruined the look of my top navigation.
Next, I focused on removing the icon and including only text.
![]()
![]()
Much better. While it didn’t match the font of the top navigation, I liked that it added some emphasis. I was hoping the thicker font would help people remember the brand name more vividly.
With my logo done, the website is now complete. Time to remove the password!
Next Week
I finally get to start marketing my store for the first time next week. I’ll be experimenting with different marketing strategies to see what results in my first sale. I’ll be walking you through my step by step marketing process to hopefully yield some winning results. I’ve also been asked to extend this case study so you can get a couple extra weeks worth of marketing hacks.